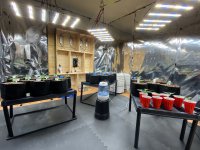
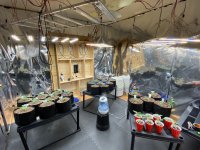
Weekend at Burnys
Vegging
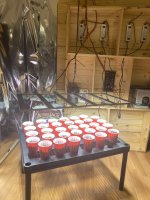
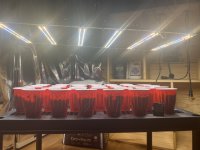
Hey fellow Phenos... This will be a multiple part thread as we continue down the grow process. This first one will be talking about the light setup and install for 4 Samsung LED Sun Boards with 6 lights on each board ( 2 red light strips in each board.) I got these lights from Grow Daddy LEDs. He was amazing in every step of the process from discussing all my options and what fits best for my size grow room (10x10ft). He was extremely fair on the prices and by far the best quality and bang for your buck. Thanks Grow Daddy LEDs.
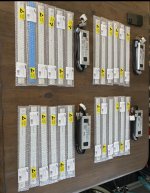
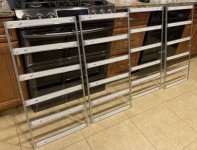
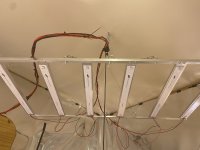
This first picture shows the lights and drivers setup as were getting ready for assembly. The assembly process requires drilling and setting your light strips straight and even across the metal rods. Once they are in place you should have 6 light strips for every 2 rods as shown in the second picture. Now they are ready to be hung.
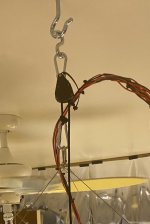
Prior to hanging the lights you must first drill anchors attaching hooks from the ceiling. Make sure to find a beam for extra support as these will be hanging. Once your hooks and S-hooks are evenly placed throughout your room as needed, you must figure out where you are going to put the driver(s) and if you are going to mount them or not.
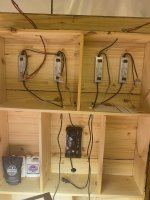
Once you know where your drivers will be and where your lights will be staged, you must measure the amount of electrical wire you’re going to need. This may be a lot if you are running multiple lights to drivers which are in 1 area like I am. You will need 6 positives and 6 negatives running from the driver to the light as shown in the 3rd picture. We used 18 gauge solid copper hook-up wire we got on Amazon. Grow Daddy LEDs made this step of the process extremely easy as these lights are all plug and play.
Once you have the wire cut and stripped, you can start by attaching all them to the driver. Work your way outward, and I made sure to zip tie everything as I went for a much cleaner look. Also make sure NOT to under measure the wires so your lights can drop down as low as you need. You can always take away but you can’t add and that would be a lot of wasted wire. Once you have the wires ran from the driver to the lights and the lights hung where you want, test them by turning on and adjusting the power level and brightness which you have a control dial for and there’s also one attached to the back of the driver. So make sure if you are mounting your drivers, you drill a hole big enough to access that adjustment screw on the back.
After everything is zip tied, neat and connected correctly, the last thing to do is test your light by plugging them into a grounded surge protector to ensure they are working and wired correctly.
Also, I suck at typing so if there are any errors you can see, please let me know or disregard lol


